How to Make Hot Process Soap
Last updated on December 18th, 2025 at 03:02 pm
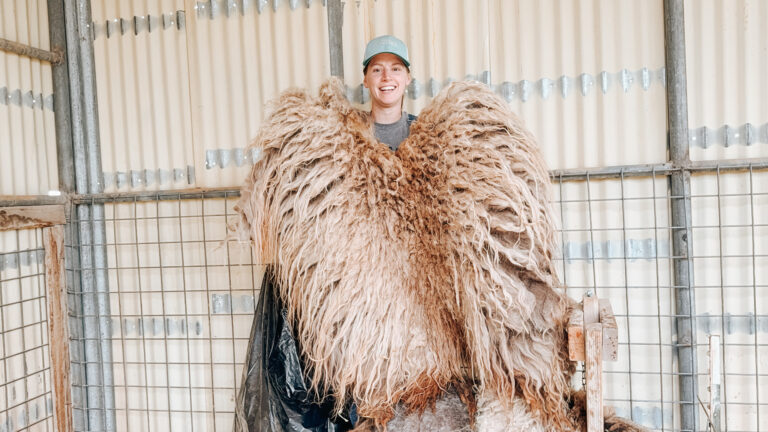
I started making soap a year ago and I fell in love! Especially once I discovered that I could use my Icelandic Sheep’s milk in it. However, I didn’t want to make regular soap, I wanted to make shampoo bars for my family. We have struggled with infertility for many years and after starting our farm and realizing all the terrible things that industries place in our products that can cause infertility, especially in our hair care and beauty products I decided to make my own. So I went on a journey on how to make hot process soap.
Cold Process Soap
I first started with the cold process. In my opinion, it was alright, but when I made large batches I never could get a consistent outcome. I know there are a lot of people who do cold processes and can get a consistent outcome every time, but I didn’t. There are benefits of making your soap with a cold process. Doing a cold process you can make some amazing designs. The cold process is still liquid when placing the soap mixture into the mold, allowing a clean beautiful design to be created. The downside is that you have to wait 4-6 weeks to use the soap. This is called the curing process. I wanted a faster way of doing the soap and having a consistent outcome no matter if I doubled or five times my soap batch.
Hot Process Soap
Once I found hot process soap I fell in love. The hot process has never failed me. Not once, even when I have made a large batch in a 16-inch by 12-inch box. The downside of the hot process is you can’t make the designs you can in the cold process. The hot process is more of a rustic-looking soap (which I love) because when you place it into the mold it is like hot Vaseline, but you can still do some fun things with it.

The benefit of the hot process is you can use the soap the next day once it hardens. The hot process also keeps the scents longer than the cold process. I also like the clean-up after hot process soap, because the soap is already cooked you don’t have to worry about the lye inside irritating your skin because it has already gone through its chemical change. So you already have soap in your pot to clean it. I would also like to disclose that most people do their hot process in a crockpot. I was too cheap and had an extra large pot that I never used, so I taught myself how to do it on the stove.
This post contains affiliate links. As an amazon associate I earn from qualifying purchases.
How to Make Hot Process Soap


When making soap with lye be careful. I know working with lye might seem scary, but if you wear the safety gear and are careful you won’t have anything to worry about. Don’t be like me and after the tenth time making soap thinking nothing is going to happen, and decide not to wear goggles. When lye gets in your eyes it HURTS! Thankfully I had a wonderful sister who was on the phone with me at the time and was able to look up what I should do. Just don’t get comfortable making soap.
Once you have gathered all these things the next step is to gather your ingredients. Find a recipe that you would like to try. Start as simple as you like and work your way or purchase a book and try all the recipes in there. I like to have multiple sources that aren’t on the internet. You never know when you might lose power and still need to make soap.
When making soap keep everything you use solo for soap. I do not recommend using anything you use for soap making to be used for cooking.
Step 1

I like to start by measuring everything out first. I start with all my oils. I place the large metal pot on my scale and then turn the scale on. By doing this your scale should still read at zero. Then begin to add each ingredient one at a time. Remember to turn your scale on and off after each ingredient to zero it out again. Once all your oils and fats are placed in the pot move it onto the stove. Turn your burn on. You can turn it up to medium for it to melt faster.
Step 2
Once you get all your oils on the stove it’s time to measure out your lye and water. Feel free to measure your water inside, but I highly recommend going outside or in your garage to measure your lye and mix it in the water. If you do it inside make sure you have windows open and anybody in the house does not come in where you are mixing the lye. The fumes can damage the lungs and if they contact with skin can burn and irritate it.
Mix the lye and the water. ALWAYS pour the lye slowly into the water. NEVER pour water into the lye. If you pour the water into the lye it will create a hard shell of partially dissolved ly that covers lye crystals that haven’t dissolved. Your finished soap will have a high chance of having undissolved lye crystals in it and nobody wants that on their skin.

Step 3

Now grab your thermometer and start checking your lye temp and your oil temp. Once they are both around 160 degrees F you will mix the lye and the oils. As long as they are within 10 degrees of each other you can mix them. You will slowly pour the lye water mix into the oils. Try to pour the lye water down onto a spatula that is held above the oils to help keep the splatter to a minimum. Turn your stovetop to the lowest setting possible.
Step 4


Once you have mixed them you will use a hand mixer like the one in the picture above or a wand mixer. Mix until it is no longer clear. It should look like the second picture. Once it is mixed place plastic wrap over the top to keep the moisture in.
Step 5

Stay next to your soap! Soap mixture will start to bubble. Stir occasionally. The mixture will go from the picture above to a cottage cheese texture to mashed potatoes to vaseline.
WARNING: If the mixture begins to rise, move the pot off the burner, and get your giant spoon or your mixer. Stir until the mixture goes down. The heat is trapped at the bottom of the mixture and needs to escape, so it pushes the mixture up and will cause an overflow if you don’t untrap the heat. If you keep the stove top low enough it shouldn’t happen, but it still might.
Step 6

Once the mixture has cooked through it will no longer bubble and become like Vaseline. If you have removed the pot from the stove move it to a part of the counter with a hot pad. Make sure the plastic wrap is covering the top. This is where you will wait for the soap to cool to 160 degrees F.
Step 7

Once the soap has cooled this is where you can add your milk, fragrances, and honey. Adding any of these above the temperature of 180 will scorch the milk, burn the honey, and cause your fragrances to evaporate into the air instead of staying in your soap.
Now that all your ingredients are in, you can divide the soap and add colors. I like to layer my colors and then take a spoon and scoop the bottom layer up to the top. It can create an interesting swirling effect.

Enjoying the sunset

Cuddles with the baby goats
Welcome! I’m Sam!
We would have never believed anyone if they had told us eight, five, or even three years ago we would have a little farm with more than 40 animals. Our journey to homesteading is a story of mistakes, learning, and a lot of heartache. We would not change a thing.
Step 8


Place the soap into a mold and let it sit overnight. In the morning you should be able to lift the soap out of the mold. I use small trash bags to line my homemade molds.
Step 9


You have woken up to a beautiful log of solid soap. (If it is not solid let it sit a while longer) Now it is time to cut the soap. You can use a regular knife or you can get these fancy hand cutters or a soap cutter. If you don’t care how your soap looks a regular sharp knife will work fine. However, if you are going to sell your soaps like I do, I strongly recommend a soap cutter and hand cutters. It is worth the investment and will save you a lot of headaches.
Before I use my soap or sale it I like to have it sit for an extra couple of days for it to harden a little longer. However, you can use the soap the very next day, it will be softer and will get used up faster.
FINISHED
Congratulations! You have made a your first hot process soap!! I hope you enjoy your creation and I hoped this post helped! We would love to know how it went and if you have any questions.
4 responses to “How to Make Hot Process Soap”
-
I really like your newsletter
-
I am so glad you like it!
-
-
I bought 2 bars of your soap at the Scandinavian Days festival. I NEED more, my favorite soap I have ever used. What festivals will you be at or is there a place on your site with contact info so I can order more?
-
Hello! I am so glad you like our soaps! This month I will be in Golden Colorado and Pocatello Idaho. However, you can email us at [email protected] or message us on our Facebook or Instagram page Sweet Momma’s Farm.
-
Other Posts
-
Part 2: The Transition Phase (Why Your Hair Feels Weird at First)
Please Share! Facebook X Pinterest15 No one really warns you about this part. Or if they do, it’s usually in passing—something like, “Oh yeah, your hair might feel a little weird for a while.” And you nod like that sounds manageable… until you’re standing in the mirror a few washes later wondering if you made…
-
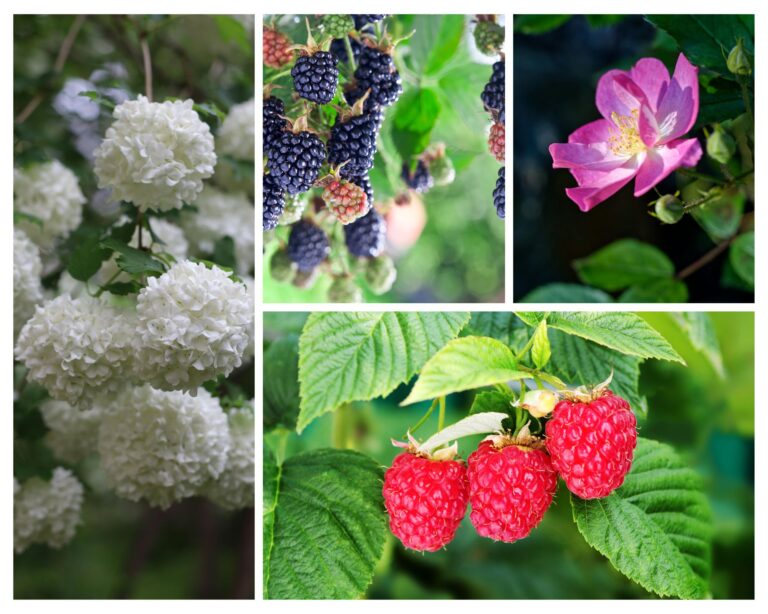
Medicinal Bushes Every Homestead Should Have
Last updated on April 21st, 2026 at 12:38 pmSimple, medicinal bushes for homestead, that nourish, heal, and grow with your family Food and Medicine from the Same Place In the past, food and medicine came from the same place—nature. Some of it was right outside your door, while other remedies were gathered from nearby meadows…
-
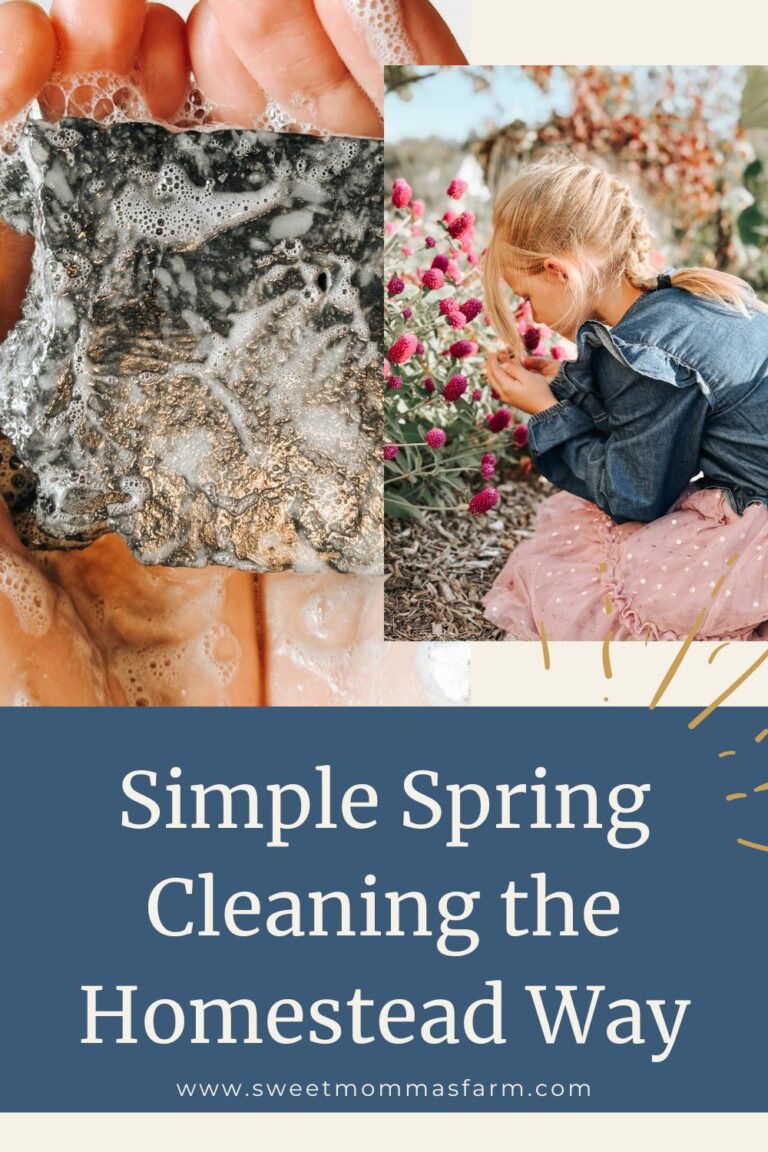
The Simple Homestead Guide to Spring Cleaning
Simple Spring Cleaning There’s something about the shift from winter to spring that calls us to begin again. After months of shut windows, steady fires, and long days indoors, our homes begin to feel heavy. Not just with dust—but with stillness. Spring cleaning isn’t just an old tradition. It’s a rhythm our homes and bodies…
-
Homesteading the Old Way: Rediscovering Traditional Skills
Last updated on April 10th, 2026 at 07:28 pmWhat Does “Homesteading The Old Way” Really Mean? The old ways… what does that mean to you? Maybe it reminds you of your first iPod Nano (I still have mine), a VHS player, CD players, or a Walkman. Maybe even a record player. For many of us,…
-
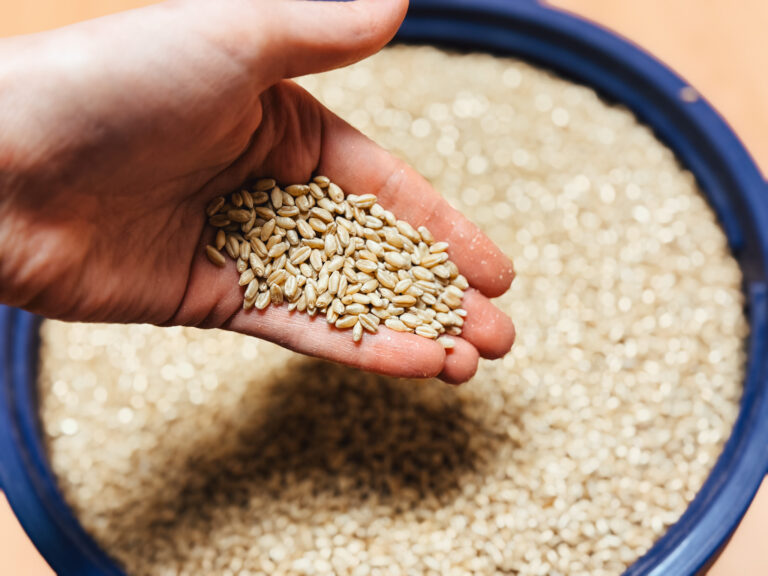
Ancient Grains vs. Modern wheat: Why It Matters for Our Health
Last updated on March 23rd, 2026 at 02:30 pmAncient Grains vs Modern Wheat has blown my mind! Some honesty here—the deeper I go down the rabbit hole of health and food, the more it feels like peeling back layers of half-truths and quiet deceptions. It’s honestly mind-blowing. Every time I think I’ve reached the bottom,…
-
Old-Fashioned Garden: What to Grow for a Pantry That Lasts
This is exactly what to plant for an old-fashioned garden—no canning required. Disclaimer & Terms and Conditions Reading Little House in the Big Woods aloud to our daughter this year stirred something deep in me. In the very first chapter, Laura Ingalls Wilder describes how her family prepared for winter. There were no trips to the store…


Leave a Reply