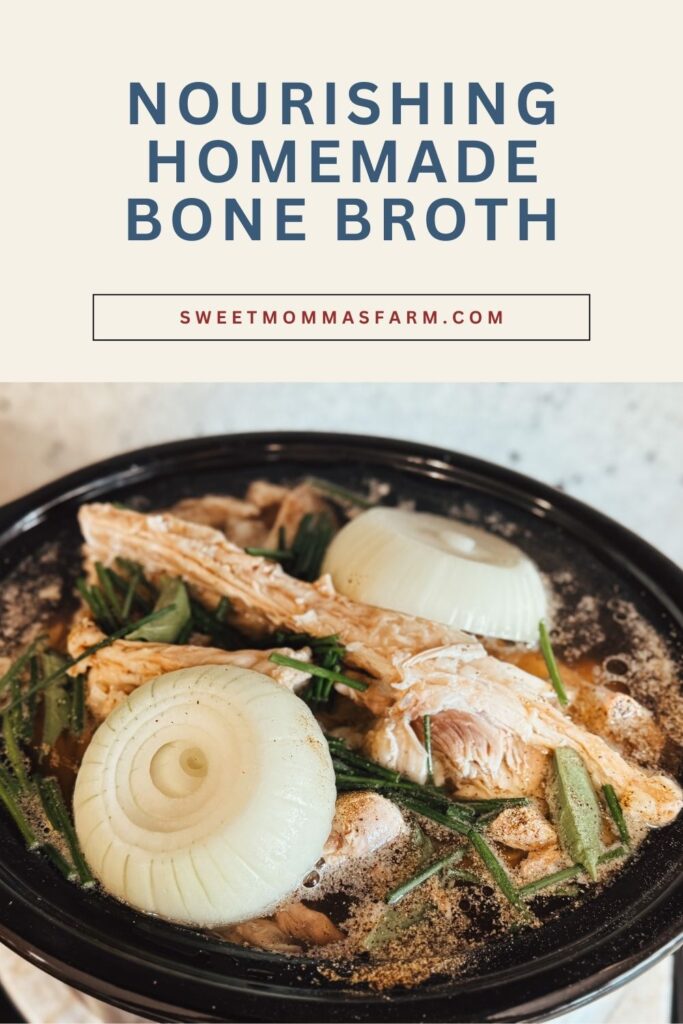
How to Make Nourishing Homemade Bone Broth
Last updated on January 10th, 2026 at 03:40 pm
The warm, comforting smell of homemade bone broth simmering on the stove is one of my favorite scents of home. It’s amazing, really—if you had told me years ago that I’d be making almost everything from scratch, I probably would’ve laughed. Yet here I am, stirring steaming pots of broth like generations of homestead women before me… and loving it.
Bone broth has become one of my very favorite things to make. It’s simple, nourishing, deeply economical, and fits beautifully into a slow, wholesome, Nordic-inspired home.
Please read our Disclaimer and Terms & Conditions
Why Bone Broth?
Bone broth is one of those old-world foods that never should have gone out of style. For centuries, families used every part of the animal God provided—nothing wasted, everything purposed.
Health Benefits of Bone Broth
Homemade bone broth is known for being:
- Rich in collagen and gelatin (supports joint, skin, hair, nails, digestion)
- High in minerals like calcium, magnesium, phosphorus, and potassium
- Gut-supportive due to its gentle, easily digestible nutrients
- Immune-boosting—perfect for winter and flu season
- Hydrating and soothing for kids and adults
And honestly? There’s something emotionally comforting about broth simmering all day—like it stitches peace back into a busy home.
What Kind of Bones to Use?
You can use any animal bones for broth, and each gives a slightly different flavor and nutrient profile.
On our homestead I’ve used:
- Turkey – rich and savory
- Chicken – mild, classic, easy
- Rabbit – very similar to chicken or turkey
- Beef – deep flavor, high gelatin if using joints/marrow bones
- Sheep/Lamb – wonderfully rich (I often mix sheep bones with rabbit or beef when I don’t have enough for a full pot)
This year’s goal: to make my first full batch of broth using only our Icelandic sheep bones.
What You’ll Need
- A crockpot or stockpot
- Bones (raw or cooked)
- Water
Optional Flavor Add-Ins
Use what fits your taste and pantry. Some of my favorites are:
- Peppercorns
- Onion
- Celery
- Carrots
- Bay leaves
- A splash of brandy (the alcohol cooks out and adds depth)
❗ Don’t add salt yet.
Salt is best added later when you turn the broth into soup or stew.

How to Make Bone Broth (Step-by-Step)
1. First Cook
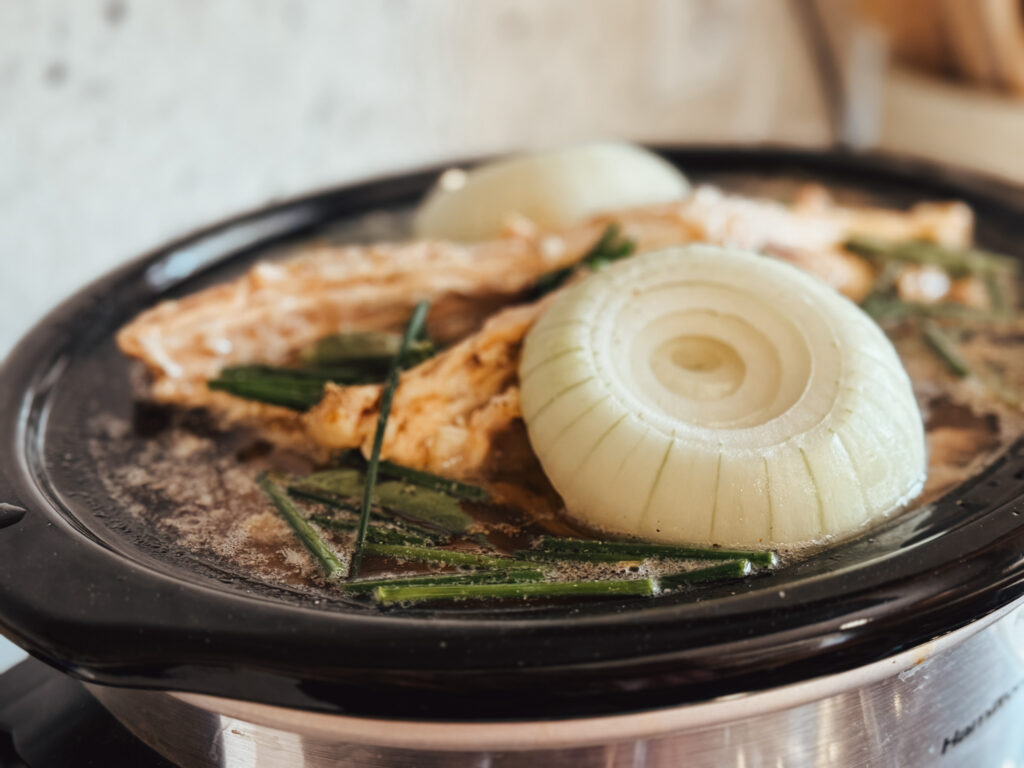
- Place bones into a crockpot or stockpot.
- Cover completely with water.
- Add flavoring vegetables, herbs, and spices.
- Cover with a lid.
Crockpot: Cook on low overnight (12 hours).
Stockpot: Simmer on low (12 hours).
5. Strain the Broth
Carefully strain out the liquid into a glass, ceramic, or metal bowl.
Don’t throw the solids away yet!
You’ll use them again for the second cook.
Let the broth cool, then refrigerate.
It should turn into a jelly-like consistency—a sign of excellent gelatin.
Second Cook (Yes, You Can Use the Bones Again!)
Place the bones, veggies, and herbs back into your pot.
Cover with water again and cook another 12 hours.
This second round still produces a wonderfully nutritious broth—lighter in color but still rich and very usable.
Strain again.
This time you can:
- Compost the solids
- Feed them to the chickens
- Give large bones to the dogs (if safe)
First Cooking vs. Second Cooking
- First Cook: Your richest, most gelatin-packed broth.
- Second Cook: Lighter but still flavorful—great for soups, stews, grains, and sipping.
Many homesteaders repeat the process until the bones crumble.
Make It Your Own
One of the joys of homemade broth is its flexibility. Try adding:
- Fresh herbs (thyme, parsley, rosemary)
- Nordic-inspired flavors like juniper berries or dill
- Extra garlic and onion for cold season
- Mushroom stems for umami
- Apple cider vinegar to help extract minerals
Use broth for:
- Stews & soups
- Gravy
- Cooking rice or barley
- Ramen bowls
- Sipping during cold, snowy evenings
It’s a wonderful addition to your pantry—especially during flu season and long winter nights on the homestead.
Simple Homemade Bone Broth

Rich, nourishing, and perfect for soups, stews, and winter sipping.
Ingredients
- • 2–4 lbs bones (chicken, turkey, rabbit, beef, or sheep)
- • 12 cups water (or enough to cover bones)
- • 1–2 carrots, chopped
- • 2 celery stalks, chopped
- • 1 onion, quartered
- • 1–2 bay leaves
- • 8–10 peppercorns
- • Optional:
- o 1–2 garlic cloves
- o Splash of brandy (alcohol cooks out)
- o Fresh herbs (thyme, rosemary, parsley)
- o 1–2 tsp apple cider vinegar (helps extract minerals)
Instructions
1. Prepare the Pot
Place the bones into a crockpot or alarge stockpot.Cover with water so the bones are fully submerged.
Add the vegetables, peppercorns, bayleaves, and optional herbs.
2. Slow Simmer
Crockpot: Cook on Low for 12 hours or more(overnight works beautifully).Stockpot: Simmer on Low for at least 12 hours
Avoid boiling — a gentle simmer keepsthe broth clear and flavorful.
3. Strain the Broth
Pour the broth through a strainer intoa glass, ceramic, or metal bowl.
Let cool, then refrigerate for severalhours or overnight.The broth should thicken into a jelly — a sign of wonderful gelatin.
Save the bones and veggies!You’ll use them again.
4. Second Cook (Optional but Recommended)
Place the bones and veggies back intoyour pot.Cover with fresh water and simmer again 6–8 hours.
Strain once more.This second batch will be lighter but still rich and nutritious.
5. Store
Refrigerate for up to 5 days
Freeze for 4-6 months
Freeze in Ice Cube trays for quick use
Tips
Use Joints, feet, or marrow bones for extra gelatin
For a deeper Nordic flavor, add a few juniper berries
If your broth didn't gel, don't worry - it's still packed with minerals. Your second batch shouldn't gel.
Use broth for soups, gravies, sipping, cooking grains or winter wellness


This is exactly what I was looking for! Delicious!!!
Wonderful article! I love bone broth and have made it from many kinds of bones. And I think it’s so important not to waste anything. I include the chicken heads too and like to make broth from fish bones and fins after filleting. I normally like to eat the fish skin fried, but that can be added too. Shellfish scraps work too. And your instructions here are fantastic, so easy to follow and to the point! Keep the great info coming, I’ll keep coming back for more!
Thank you so much! I love what you do! Thank you so much for sharing it! I will have to add them to the list to throw into the broth!
This looks amazing! And do-able! Can’t wait to try it.
Great recipe, thanks for sharing! I love bone broth 😍
Homemade bone broth is the best! This is a wonderful recipe 💞 Thank you!
Great tutorial! I’d love to try making sheep and rabbit broth someday!